 By myulikeadmin
Good looks are undoubtedly one crucial quality that people, especially the opposite gender, look out for at first sight. If you believe in love at first sight, you’d agree with me that it has to do with your hairdo one way or the other. However, sometimes, it’s not so easy making an appointment with your barber between work, social obligations, and family.
The notion of acquiring the skills to cut hair oneself starts appearing that much better when you consider how expensive visiting the salon frequently to maintain your appearance may become. For the record, haircuts saw an average annual price hike of 2.66% from 1997 through 2023. With this, it’s obvious that inflation has the upper hand at this rate of change. To put it another way, it is the same thing as saying that the same haircut that cost $20 in 1997 would now cost you about $39.57 in 2023.
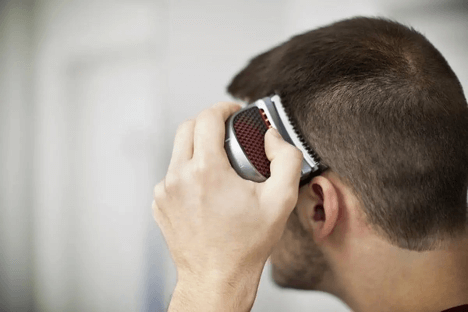
Therefore to save some time and money, you may need to learn to trim your own hair at home with clippers to reduce regular salon visits to the bearest minimum. Here’s a step-by-step approach to using hair clippers on yourself at home.
Step-by-step Guide to Cutting Your Hair
1. Condition, Wash & Keep Your Hair Dry
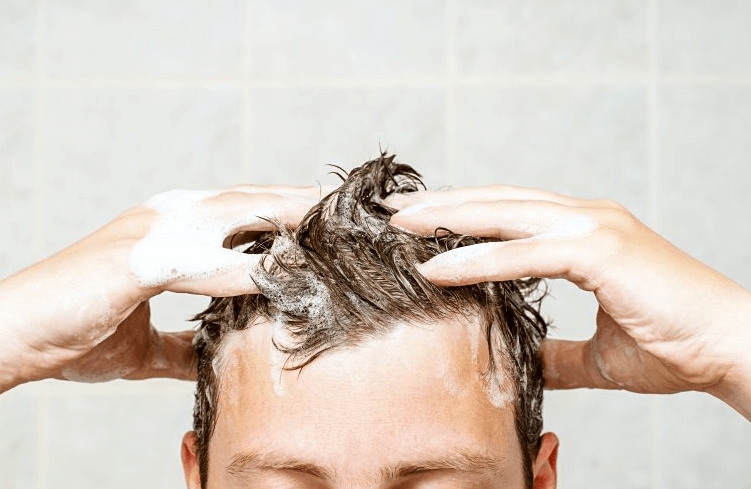
One thing I used to tell people is that when you want to have a haircut (whether professionally or by yourself), washing your hair and keeping it in the best way is very important. Coupled with other reasons, washing your hair increases simplicity in the cutting process. If you want to cut your own hair, it may be simpler if you have clean hair because oily hair tends to cling together and get tangled in the blades as the clipper drives through those dark bushes. After you may have finished washing your hair, make sure your hair is thoroughly dry and combed because when your hair is not properly dry it wouldn’t lie identically as dry hair and can provide a different style from what you were hoping for.
2. Stay in Your Comfort Zone
Even if I said this a million times, it wouldn’t be out of place. You have to be comfortable when cutting your hair. Before using hair clippers to trim your own hair, make sure you are well-positioned and have easy access to a mirror. There should be water accessibility too. Furthermore, when you think of positioning yourself, ensure that you look for a place with the best-fit lighting. Since you’ll be doing the cutting by yourself, you’d need a very good vision to avoid mistakes. When you’re sure that all; is set, you can go ahead to divide your hair into sections according to how you want it. Bear in mind that your preferred style determines how you divide your hair.
3. Set Your Clipper For Cutting
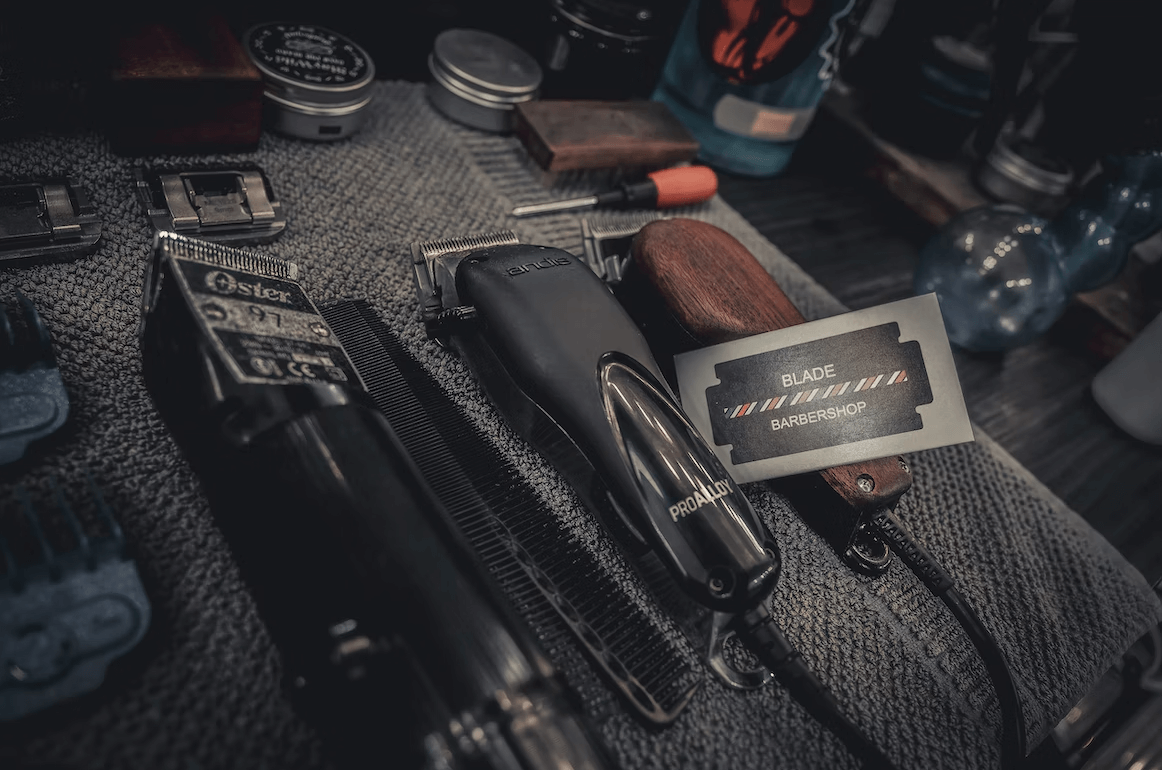
Before you begin cutting your hair, whether or not it’s your first time, you need to understand the clipper settings and adjustments. There’s always a taper level by the side of your clipper which allows you to easily customize the cutting length and for easy blending. With the taper level, you can comfortably adjust your hair clippers to the relevant guard that you’re going to need to start with after deciding on the hairdo you want. Before I continue, I’d like to point out that the taper level either raises the blade or brings it down. The closer both blades are, the lower your hair. If both blades are at equal length, you’d have a cleaner and more shiny cut. If you don’t want it to be so clean or shiny, you need to adjust the taper level so that the blades are apart. However, if you want some higher cuts you’d need to use clipper attachments that suit your desired length. I’ll talk about the attachments later on in this article.
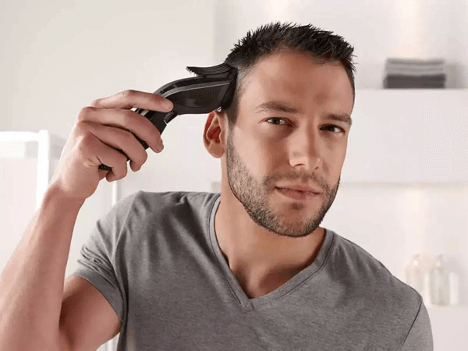
When all is set, you can start by trimming the sides as well as the back of your hair. These are the best places to start cutting your hair by yourself. Some people would begin cutting their hair from the top. However, it is not an ideal practice. If you want a higher cut, look for the attachment that best fits your desired length, and then trim the sides from the bottom to the top using the blade’s edge. At this point, you don’t have to be too hasty. The last thing you want is a mistake on your hair. One simple mistake could ruin your hairstyle.
Ensure that you don’t use a different adjustment level for each side of your hair. Once you use a specific adjustment level for one side, make it goes around to other parts where it is needed before changing the adjustment level again. In order to get a consistent fade with the remainder of your hair, you can tilt the clipper blade at an angle and repeat the procedure on the opposite side of your head without changing the adjustment level, ensuring sure that every side is uniform as you proceed. After you’re done with the sides you can move on to the back of your hair.
4. Move on to the Back
Once you’re done with the sides of your hair, you can move on to trim the back of your head by walking your way up from the bottom to the top as you did with the sides. Like I’ve said before, you don’t have to be in a hurry to finish up. Going slowly is important since learning how to trim the back of your own hair takes time. Hold a mirror behind you while you cut so you can monitor your progress and make sure you’re cutting evenly. As you hold your mirror to cut, ensure that you’re well-positioned in a place that would give you the best illumination. You should change your sitting position if you struggle to see the back of your head through the mirror. Unless your hairstyle specifies otherwise, keep the length of your guard exactly the same on the sides and back of your head. As it will ensure uniformity throughout your hair.
5. Fading out your Hair
If your preferred hairstyle needs you to fade out some parts of your hair, then you’ll have to run your clippers over the lower part of your hair with a lower attachment/guard than when you started. For emphasis’ sake; the higher the attachment/guard, the higher the hair, and the lower the attachment/guard the lower the hair. To achieve the most even fading possible, use your hair clippers slowly with the same adjustment levels.
If you wish to trim the top of your hair in parts, you can use hair scissors. Do not attempt to use Home scissors because they are insufficient to cut your hair since they are not sharp enough. Since hair scissors are specifically made for your hair, they remain the best choice for trimming your hair. Before trimming make sure to comb out your hair to get the actual length. You can also raise the hair on top of your head using your fingers or a comb so that it is parallel to the front of your hairline. Work slowly and meticulously and always begin with modest cuts and work your way up to the desired length.
6. Style your hair and Cut your sideburns (If you have)
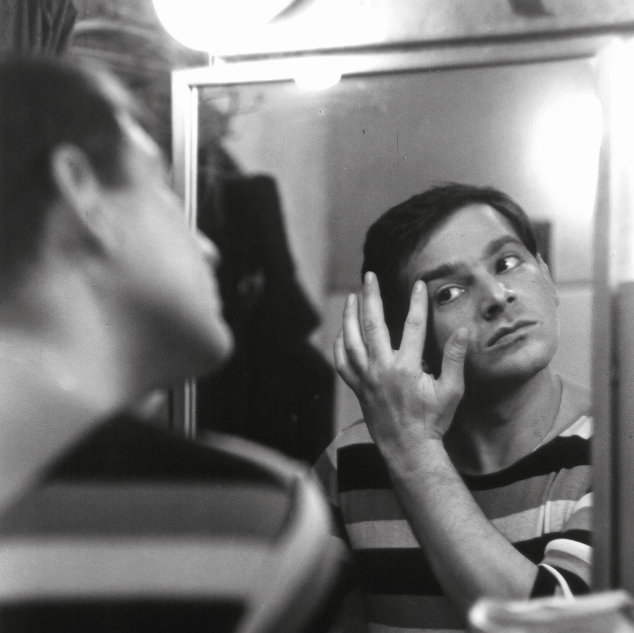
When you’re done, look through the mirror to inspect your sides and the back of your head to ensure everything is even. To check if the portions are the same length, straighten your hair out and take a horizontal section from either side of your head or near the same location. If you have sideburns, you can cut them too. Cut your sideburns to the length you choose starting at the bottom and working your way up using hair clippers or a razor. Determine where the bottom should be by looking at the dip beneath your cheekbone. Since uniformity is a rule that needs to be followed, always check to make sure that your sideburns are of equal length. To check that the sideburns are the same length, place your fingertips beneath each one.
7. Finishing up your Haircut
To round up the haircutting exercise, taper your neckline or nape with a beard or haircut. You can choose to begin the graze at the top of the neckline, then gradually go in closer as you move toward the nape. After the cut is complete, rinse your head to get rid of any loose hairs that got caught in your hair, on your neck, or on your face. After washing, you need to dry off with a towel and style as desired.
Clipper Attachment/Guard
Now that you’ve read through how to cut your hair by yourself, let’s talk about the attachments and how to use them. Prior to getting started on how to trim your own hair with clippers, it’s critical that I thoroughly explain the guards that come with your clipper and the numbers for hair length. Normally, most clippers come with 8 guards, numbered 1 through 8, and are typically set as attachments or built-in settings. However, some clipper models may come with up to two movable guiding combs and 16 built-in protections. The smaller comb has a range of 3 to 24 mm, while the larger comb has a range of 14 to 35 mm. The length of the hair is directly proportional to each guard size you use. Consequently, the length of the hair decreases as the guard number decreases. Usually, guards are divided into eighths of an inch and each guard has a smaller surface area, making the haircut even more exact. However modern changes and variations have seen up to #16 instead of 8 for standard clippers. As such ill be showing you a chart to show how much hair each guard will leave on the scalp for a #16-level guard.
|
|
|
|
|
Number 1 |
3mm |
0.11 inch |
|
Number 2 |
6mm |
0.24 inch |
|
Number 3 |
9mm |
0.35 inch |
|
Number 4 |
12mm |
0.47 inch |
|
Number 5 |
14mm |
0.55 inch |
|
Number 6 |
15mm |
0.59 inch |
|
Number 7 |
17mm |
0.66 inch |
|
Number 8 |
18mm |
0.70 inch |
|
Number 9 |
20mm |
0.78 inch |
|
Number 10 |
21mm |
0.82 inch |
|
Number 11 |
23mm |
0.90 inch |
|
Number 12 |
24mm |
0.94 inch |
|
Number 13 |
26mm |
1.02 inch |
|
Number 14 |
29mm |
1.14 inch |
|
Number 15 |
32mm |
1.25 inch |
|
Number 16 |
35mm |
1.3 inch |
Conclusion
In actuality, haircuts do have a set expiry date but some people seem not to understand it. Some people understand it but have a bad habit of not following through and forgetting to refresh their haircut for a very long time. Making your own haircut at home is a highly satisfying experience and if you know how to do it, you’d save yourself a lot of money and the trouble of visiting saloons. One advantage is that you have complete control over your appearance, acquire a fun new skill, and make significant financial savings.
However, if you don’t exercise some caution, your cuts could look terrible. You mustn’t be in a rush when cutting your hair. A pile of hair that is somewhat untidy, or a little mistake might ruin your looks.