 By myulikeadmin
Ladies who crave smooth and soft facial skin often exfoliate regularly. Dermaplaning at home is one such process, in which you get rid of peach fuzz and dead skin cells living on your skin. It barely takes a few minutes for each dermaplaning session and the results are simply awesome. That’s why this technique is gaining so much popularity worldwide.
In this article, we will explain to you all the concepts related to dermaplaning and how you can get flawless facial skin in just a few minutes by doing dermaplaning the right way.
Table of Contents:
- Part 1: What is Dermaplaning?
- Part 2: Benefits of Dermaplaning at Home
- Part 3: Is Dermaplaning at Home Safe?
- Part 4: How to Do Dermaplaning at Home?
- Part 5: Frequency of Dermaplaning at Home
- Part 6: Best At-home Dermaplaning Tools
- Part 7: Tips for Dermaplaning at Home
Part 1: What is Dermaplaning?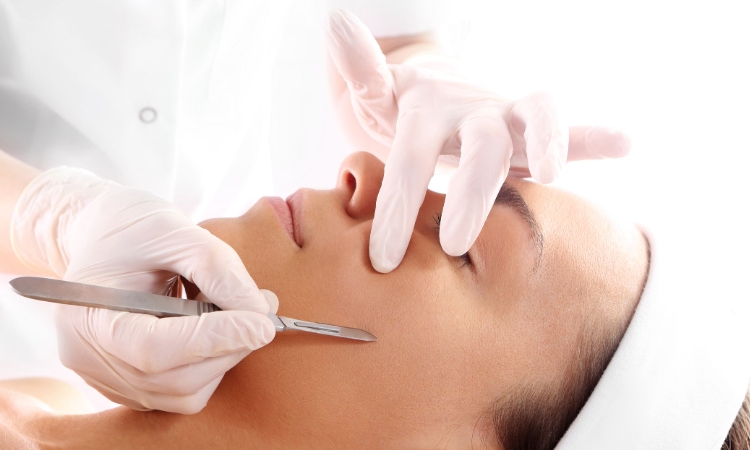
In a dermaplaning process, you scrape your facial skin using a surgical scalpel. With that, a layer of dead skin cells and tiny hair gets removed from the face, which is why your face will become smooth, soft, and glowing. This is a great technique to get an even more youthful look and enhance your feminine facial features.
While many ladies prefer dermaplaning by a licensed esthetician, you can also do it at home, but make sure you know everything about doing it the right way all by yourself.
Part 2: Benefits of Dermaplaning at Home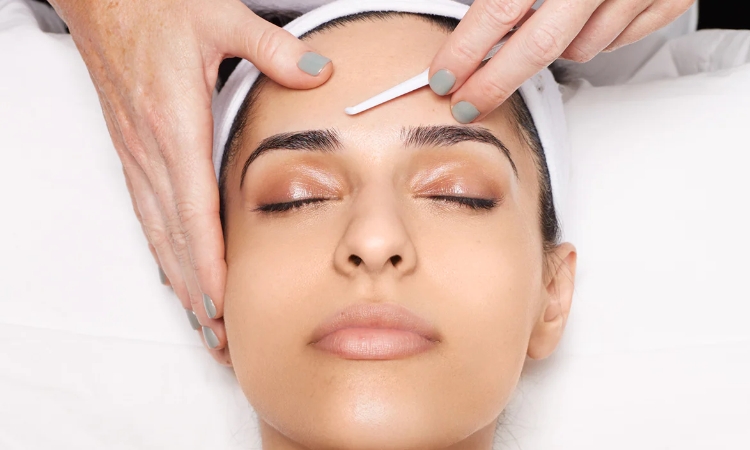
Smoother Skin
Skin roughens up when there’s peach fuzz and dead skin cells. But with a dermaplaning session at home, your skin’s smoothness will enhance due to the absence of these unwanted agents.
Better Absorption of Skincare Products
Peach fuzz can reduce how effectively skincare products penetrate in the skin. But when you dermaplane and get rid of that peach fuzz, skincare products will penetrate right through your topmost skin layers, which will help you moisturize your skin even better.
Fair Complexion of Your Skin
Dead skin can absorb dust and dirt, which can darken your overall skin complexion. But with dermaplaning at home, you can get rid of those dead skin cells and brighten up your skin complexion by a few shades.
Better Application of Your Makeup
When you apply makeup, peach fuzz, and dead skin will absorb them, making it look rough. But if you want a smoother makeup application, just like any flawless skin model, you can go through a dermaplaning session at home.
It’s Very Convenient
When you choose to do it yourself at home, you will have complete control over your dermaplaning schedule. You don’t have to make appointments and you can do it whenever you want. Also, you will save so much money when dermaplaning at home.
If it’s your last-minute date, then at-home dermaplaning is the only quickest solution.
Do It As You Want
Sometimes, many girls don’t feel the way their estheticians dermaplane. So, in case you have your personalized approach to dermaplaning, then doing it yourself will give you complete freedom of how you want to get it done.
Part 3: Is Dermaplaning at Home Safe?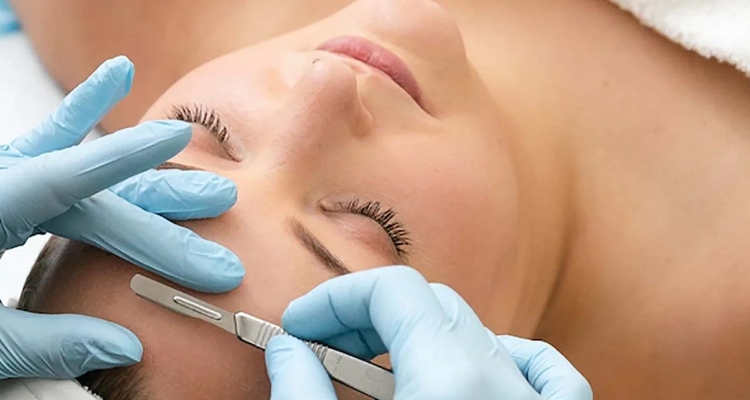
Yes, it is safe to do dermaplaning at home, but being careless and reckless with the process is what you should avoid. To get the best results, you still need to be careful with the process.
Cleanliness Is Important
Even if you think that the tools are clean, you never know what kind of microorganisms might be sitting on the scalpel’s surface.
- Once you have decided to dermaplane yourself at home, you should keep all the tools sterile and disinfected.
- It will be really great if you use a sanitizer to disinfect your tools before using them.
- Before starting with the dermaplane process, you need to wash your face. That’s why most of the girls do it right after a bath.
Keep Your Touch Gentle
- Keeping the right pressure of the scalpel on your skin is important. Too tight a scalpel can scratch, peel off, or leave a cut on your skin. Even if you believe that the scalpel is gliding smoothly, you should still keep the pressure right.
- Using short strokes is the best way to avoid any accidents.
- Experts suggest that keeping the scalpel at a 45-degree angle for dermaplane is the best.
- When dermaplaning on the facial curves, having complete control over the scalpel’s movement will help you dermaplane the right way.
- It’s not a good idea to scrape the same area several times. That can give you burns or irritations. Keep the strokes even.
Don’t Work on Sensitive and compromised Skin
Whether to dermaplane or not depends on your facial skin condition as well.
- If you have a lot of acne and/or pimples on your face, it’s not a good idea to dermaplane right now. First, treat your acne, or else your skin will get even worse.
- If there is already a cut or compromised region on your face, it’s better to treat it first. But if you still need to dermaplane, you should put a band-aid so you don’t accidentally scrape that wound. Be extra careful when gliding near that wound.
- Avoid scraping sensitive areas like your eyes, nostrils, etc.
Dermaplane In a Controlled Environment
- It’s not a good idea to dermaplane in a low-lit environment. If possible, use a ring light, or your room well-lit.
- Dermaplaning will reveal a layer of soft skin. So you should avoid dermaplaning under direct sunlight. Also, don’t go out in direct sunlight without putting on skincare products.
- Keep in mind the right frequency of dermaplaning or else your skin will start getting damaged soon.
Part 4: How to Do Dermaplaning at Home?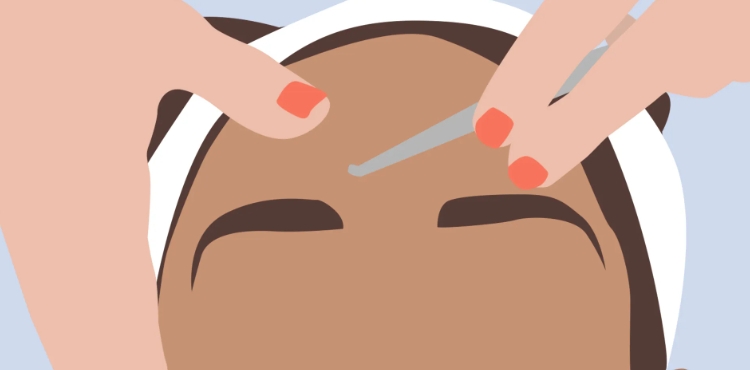
Let’s see how to prep skin for dermaplaning at home in this section.
Tips for Proper Preparation of Skin for the Process
Here are some dermaplaning at-home tips for the best results.
1. Proper Cleaning
Always clean your face with a gentle soap or a pH-balanced cleanser to keep your skin safe and clean. Make sure there are no leftovers of oil, debris, or makeup, and the skin is totally dry. Pat dry your face with a terry towel for the best results.
2. Manage Your Dermaplaning Environment
It’s very important for you to keep a good arrangement of proper lighting. Keep the mirrors clean, keep a first-aid kit handy (just in case), keep extra face towels, have your dermaplaning kit ready, and make sure that you are indoors. Avoid doing it outdoors or under direct sunlight. It’s good if you also have your skincare products ready to use after dermaplaning.
Recommendations for Gentle Exfoliation
- Always keep your scalpel smooth and gentle to your skin. You can use a mild exfoliant to further loosen up the dead skin cells so you can remove them easily with dermaplaning.
- If you have acne or wounds on your face, be careful when dermaplaning near those regions.
- It’s good if you use a new scalpel and discard old ones. That will give you better results.
- Pat drying your face with a towel is better than wiping because wiping will further irritate your skin.
How to Do Dermaplaning Safely & Effectively At Home?
What You Will Need?
- Dermaplaning tool (with a single-use, sterile blade)
- Clean and dry skin
- Mirror with good lighting
- A gentle, pH-balanced cleanser
- Towel
- Rubbing alcohol or sterilization solution
- Sunscreen (optional)
1. Preparing Your Skin
Wash your face with soap and cold water. Your face should be free from oil, makeup, and any kind of debris.
2. Sterilize Your Tools
You need to sterilize your tools so they are free from any microorganism buildup. You can dip them in a cup of sanitizer or alcohol. Then dry them before use.
3. Choosing Dermaplaning Oils
Many girls ask what oil to use for dermaplaning at home. You can use jojoba oil, almond oil, grapeseed oil, apricot kernel oil, safflower oil, etc.
4. Dermaplaning
The right way to hold the scalpel is like a pencil. You need to keep your grip firm and keep the scalpel gentle to your skin. Make sure that your scalpel is in full control of your hands.
It’s better if you hold your skin taut as you dermaplane because that will help you get better results without scraping the same reason several times. Also, your skin is less likely to get a scratch or a cut.
5. Rinse & Aftercare
Once done with your dermaplaning session, the next thing to do is to rinse your face and pat dry with a terry towel.
Now use aftercare products like a moisturizer, sunscreen, etc., as you see fit.
Quick Tips
- You need to keep the scalpel’s angle at 45 degrees for the best results and the blade should be towards the direction of your scalpel movement.
- Keep your strokes short and glide gently, even if you’re in a hurry.
- Never scrape the same area repeatedly. Once or a maximum of twice per session. If you think that scraping twice is still not effective, that means you are using a worn-out scalpel.
- Even though dermaplaning is a kind of exfoliation, there are many girls who exfoliate before dermaplaning.
What to Use After Dermaplaning At Home?
Here’s a list of what to use after dermaplaning at home.
Soothing Toners
Most girls use soothing toners that are free from alcohol. These toners will help you get rid of any skin irritation and redness. You need to choose your soothing toner wisely, that has a proper pH balance. Some choices you can consider include aloe vera, rosewater, etc.
Rehydrating Agents
Once you are done with your dermaplaning session, your skin will be striving for moisture. Nourish your skin with some hydrating serums that have hyaluronic acid.
Furthermore, you may use any regular skin moisturizing lotion that you might use during winter.
Sunscreen
While sunscreen is optional after dermaplaning, you may still prefer wearing it in case you plan to go outside. Also, if you live in an area where your room gets a lot of sunlight, then you may wear it even if you decide to stay indoors.
Part 5: Frequency of Dermaplaning at Home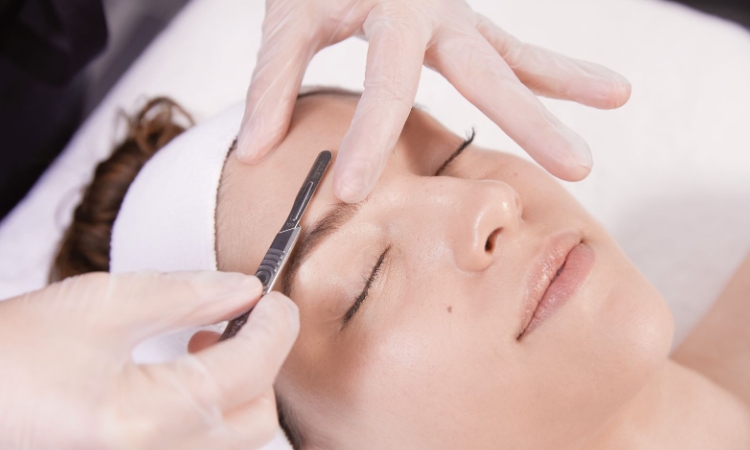
Many girls have this question about how often to dermaplane at home. Based on your skin type, your next dermaplaning session will vary widely.
- If you have normal Skin and a normal hair growth rate, you can do dermaplaning once every month. This duration is enough to let your peach fuzz grow enough to be razed off.
- For those with sensitive skin, make sure that you keep a gap of at least 5-7 weeks because your skin will need some time to recover from all the harshness from your last dermaplaning session.
- If your peach fuzz grows really fast, then you can consider dermaplaning once every 2-3 weeks, based on how soon you notice your peach fuzz grows back again.
The exact frequency of dermaplaning is really very difficult to determine as it totally varies from individual to individual. If you want to find out the best gap between each of your dermaplaning sessions, we recommend that you start with a gap of 3 weeks. Then notice how soon your peach fuzz grows back and whether your skin gets irritated again. If the peach fuzz regrowth rate is slow, then increase the gap.
Part 6: Best At-home Dermaplaning Tools
Dermaflash Luxe
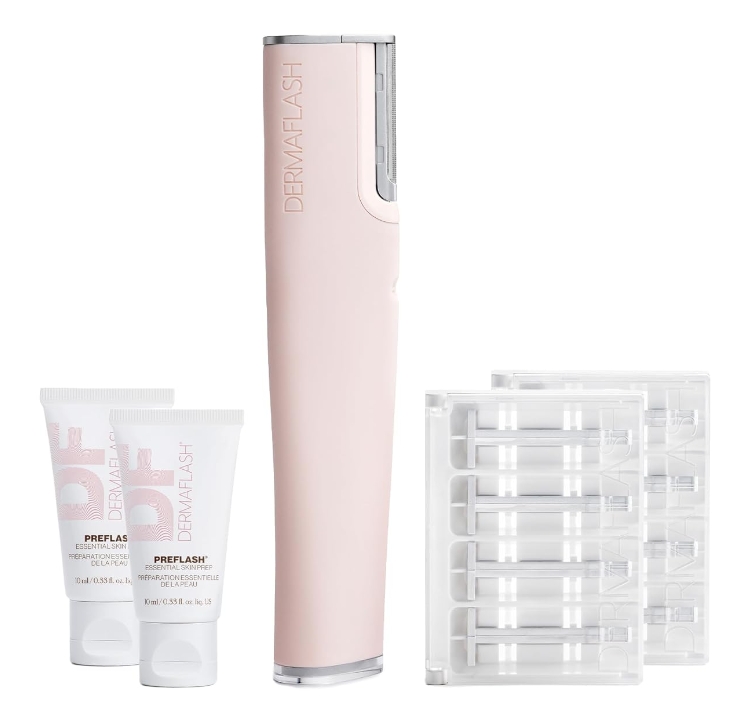
This is an easy-to-use tool that is designed for girls who want to do dermaplaning at home. Its simplified version is called Dermaflash ONE. These devices have features like speed settings, gentle vibration, etc.
Sephora Collection Level Setter Razors
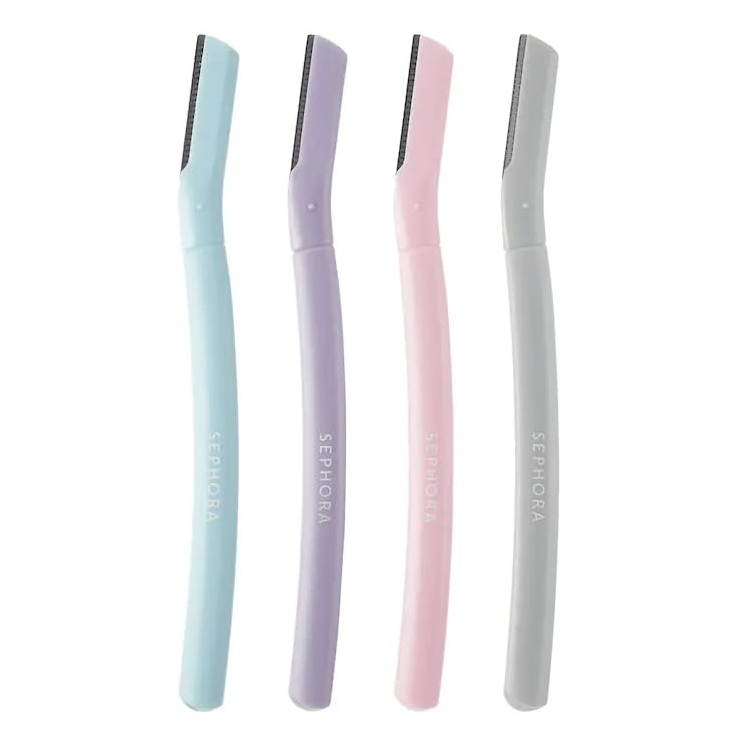
These are some of the most affordable razors that you will find in the market. These have sharp blades that will give you flawless and the most smooth skin right away.
Part 7: Tips for Dermaplaning at Home
- If this is the first time dermaplaning or if you are doing it after a very long time, it’s always better to do it in a small area first. This will help you get your lost edge back and you won’t mess up your entire face.
- No matter how quick you want to get it done, you still need to be calm and patient. Don’t be distracted with your iPods, TV, mobile phone, etc., while dermaplaning.
- Don’t forget to use aftercare products because that will help your skin revive from all the harshness, or else you may notice redness shortly.
Conclusion
Now that you have got an idea of what dermaplaning is you must be eager to get started with it. Remember that dermaplaning is totally safe to do at home, and if you’re new at this, don’t be scared of the process. Just do it on a small area, perhaps on your chest, or arms. Just make sure to be extra cautious so you don’t make mistakes. So many girls do it, so you can do it too. Just remember to follow the tips for the best results.