 By Mariela

Out of The 9 Types of Wax for Ladies’ Hair Removal, sugar wax is the most ancient yet efficient type of wax you can use. While removing unwanted body and facial hair with sugar wax gives a great experience, making it at home can be a problem in the beginning.
Therefore, we will help you achieve optimal consistency, soft texture, and sticking properties of the sugar wax if you want to try making it at home. Also, we have another seamless hair removal method for you if sugar wax becomes too difficult.
So, let us talk about how to make wax at home with sugar in 9 simple steps.
Table of Contents:
- Part 1: Is Homemade Wax Effective and Safe?
- Part 2: What are the Advantages of Homemade Sugar Wax?
- Part 3: Step-by-Step Guide on How to Make Wax at Home with Sugar
- Part 4: Other Sugar Wax Recipes
- Part 5: A Better Alternative to Sugar Wax: Ulike Air 3 IPL Hair Removal for Face, Pubic & Body Hair
Part 1: Is Homemade Wax Effective and Safe?
Homemade sugar wax is as effective as store-bought one. The only catch is getting the right consistency through adequate heating and ideal measurements of the ingredients.
You can use homemade sugar wax easily and safely at home. However, it can peel off your skin if the skin is too sensitive or you use the wax rashly.
Furthermore, there are chances of pain, ingrown hair, skin sensitivity, redness, and folliculitis by using homemade wax. Regardless, it is a safe option to try as you face a similar side effects profile with many other safe hair removal methods.
Part 2: What are the Advantages of Homemade Sugar Wax?
Here are some of the reasons why women prefer homemade sugar wax instead of the commercially available ones.
1. Comparatively Cheap and Effective
Most of the ingredients of sugar wax are right there in your kitchen. These basic culinary ingredients are not expensive either. In comparison to store wax jars costing $20 to $50 or even more dollars, you can make sugar wax cheaply at home.
Not to mention that, it is as effective as other types of wax regardless of its low price.
2. Organic
Often waxes are made with synthetic and chemical ingredients that might hypersensitise the skin or damage it in the long run. Also, buying specific organic waxes can be a big budget.
On the other hand, sugar wax is made of organic ingredients at home.
3. Gentle on the Skin
While sugar wax is not entirely nearly painless and you will have to prepare yourself mentally for this every time you wax, it is not as painful as other types of wax. First, the sugar wax mostly adheres to the hair and a little to the skin.
Then, you won’t be using any strips to press it deeper on the skin. Consequently, it is more gentle when compared to the stripped or hard wax.
Part 3: Step-by-Step Guide on How to Make Wax at Home with Sugar
Coming to the main point of this article, it is time to learn the steps to make wax at home like a professional.
Step 1: Collect Your Ingredients
First of all, you need to collect all your ingredients in the required quantities so that you do not become confused in the preparation process. Also, note that the right quantities are essential.
The ingredients include
- 200 grams or 1 cup of sugar
- 60 grams or quarter a cup of lemon juice
- 60 grams or quarter a cup of plain water
- 1 tablespoon of honey (optional)
Ensure that you are using a graduated cup for better measures.
Step 2: Collect Your Kitchen Supplies
Once you are done with placing the ingredients on the counter near you, get your supplies so that you won’t be running around looking for a spatula when the wax is boiling. These include
- A stove with adjustable heat settings
- A non-stick pan or bowl
- A wooden spatula
- An air-tight, microwave-friendly, and heat-proof jar
Step 3: Add the Ingredients to a Pan or Bowl
You already have your ingredients in the ideal quantities. Simply put all of them together in a bowl or pan. Give the ingredients a gentle stir to mix them. Now, put the bowl on the stone.
Step 4: Turn on the Stove Under the Pan
Turn on the stone and adjust the heat to high. Let the mixture boil. Once it starts boiling, stir it nicely in a way that the heat is uniformly distributed and the mixture does not stick to the bottom of the pan.
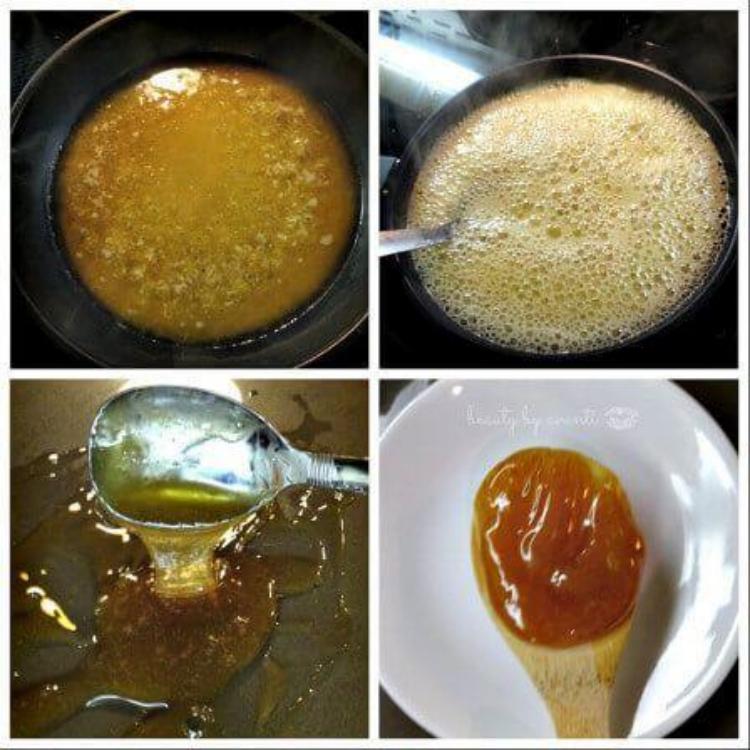
Step 5: Boil and Adjust the Heat
Once the intense boiling part is over and you see bubbles in the mixture, adjust the heat settings to medium and stir it again. In this step, you do not need to stir it continuously.
Just stir it as required but do not move away from the stove as the mixture gets burnt in an instant without you knowing.
Step 6: Turn the Stove Off
You can turn off the stove as the color of the mixture starts to turn brownish golden and the mixture gets a soft yet liquidy syrup-like consistency. Also, know that the consistency will get a little thicker when your sugar wax is kept at room temperature for a while.
Step 7: Wait for a While
Never use hot sugar wax directly on your skin. Not only will it burn the skin, but it does not remove hair as well. Let it cool down for 20 to 40 minutes and you can prepare your skin for waxing meanwhile.
Step 8: All Ready to Use
The wax should neither be too cold nor too hot when used. So, check its temperature with your fingertips to determine if your skin can take it.
Then take a part of the wax on your fingertips, spread it on the skin in the direction of the hair growth, and pull it in the opposite direction with your hand. Repeat the process on other sections of the treatment area.
Also, follow 15 Essential After Wax Care Tips to Protect Your Skin after you are done waxing.
Step 9: Store it
Place the leftover wax in the heatproof jar and store it in a cool and dry place for the future. Simply microwave the jar for 30 to 60 seconds before using it again.
Part 4: Other Sugar Wax Recipes
The recipe we mentioned in this article is the most-used and flawless sugar-wax recipe. However, you might be allergic to any of the ingredients or do not have it in your kitchen when you want to make the sugar wax.
Therefore, here are some alterations in the recipe that you can make.
- Sugar, vinegar, water, and essential oils
- Sugar, lemon, and honey
- Sugar, orange juice, and water
- Sugar, salt, vinegar, water, and lavender oil
The detailed measurements and instructions for these sugar wax recipes are mentioned in the 5 Best Homemade Sugar Wax Recipes for DIY.
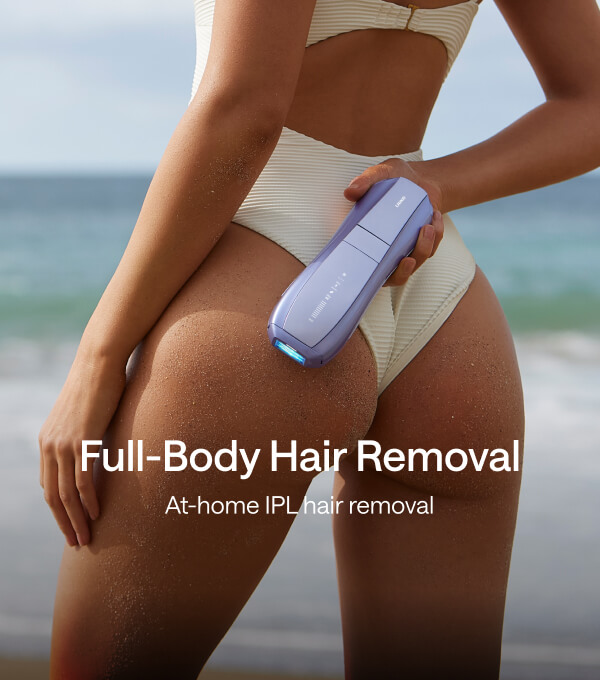
Part 5: A Better Alternative to Sugar Wax: Ulike Air 3 IPL Hair Removal for Face, Pubic & Body Hair

No matter how good and easy sugar wax sounds, we have to accept that there is always a chance of making some mistakes and ruining the process. To save you from the frustration that comes with this, we suggest you try another hair removal method that might become your best friend ditching razors, depilatory creams, and even sugar wax.
It is IPL hair removal, the ultimate solution to unwanted hair on the face, legs, bikini lines, abdomen, arms, armpits, and any other part of the body you want to remove the hair from. You can check the comparison of Waxing Vs. Laser Hair Removal: Which is Better For You? Here.
Now, let us tell you some of the benefits of Ulike Air 3 IPL Hair Removal for Face, Pubic & Body Hair for your skin, unwanted hair, and pocket.
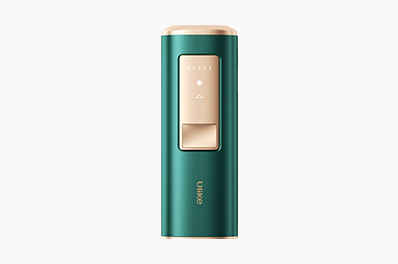
Cost:
Yes, sugar wax is inexpensive. But time is money as well. So, if you would rather spend some dollars on a better hair removal method than waste too much of your time on making and using sugar wax, IPL hair removal is for you.
Ulike Sapphire IPL hair removal handset is available only at $329 and you can get many discounts as well.
Ease:
From making the sugar wax to using it, it can be one hell of a task. On the other hand, using Ulike Air3 is a piece of case. You just need to turn it on, adjust the intensity, and swipe across the treatment areas.
Experience:
In contrast to painful and uncomfortable sugar wax, hair removal with Ulike Air3 IPL device is super comfortable as it offers a skin-cooling feature.
Safety and Results:
Ulike Air3 gives you no skin redness, allergies, irritation, or ingrown hair. It is loved by dermatologists, skincare enthusiasts, beauty influencers, and the general population. Additionally, its results last for 6 months or longer in contrast to the 4 to 6 weeks results of sugar wax.
Conclusion
Sugar waxing is an economical yet effortful method of hair removal. It becomes easy when you research and try a good sugar wax recipe and experience it. Therefore, we bought you a beginner-friendly step-by-step guide to making sugar wax at home in this article.