 By ULIKEBEAUTY

Proper hair removal is a crucial aspect of personal hygiene, and it’s no secret that waxing is one of the most popular methods to do so. Not only is it a long-lasting option, but it also offers various benefits that are worth exploring. In particular, when it comes to your armpits, waxing can help remove unwanted hair, exfoliate the skin, and prevent dark underarm areas caused by shaving and other hair removal techniques.
But sometimes waxing your armpits can be a painful experience, for the skin in the armpit area is relatively thin and sensitive, that can cause pain and even bleeding.
If you’re the first time to wax and looking to learn how to wax your armpits properly at home, fear not! We have prepared a complete guide that will walk you through the process step by step, so you can achieve smooth and flawless underarms.
Preparing for Waxing
Following, we have collated a number of must-have supplies that you need to gather for waxing armpits. Take a look:
-
Waxing Kit
Are you tired of making salon appointments and shelling out big bucks for someone else to do what you can do at home? It’s time to invest in a waxing kit, the fool-proof solution for making your armpits silky-smooth.
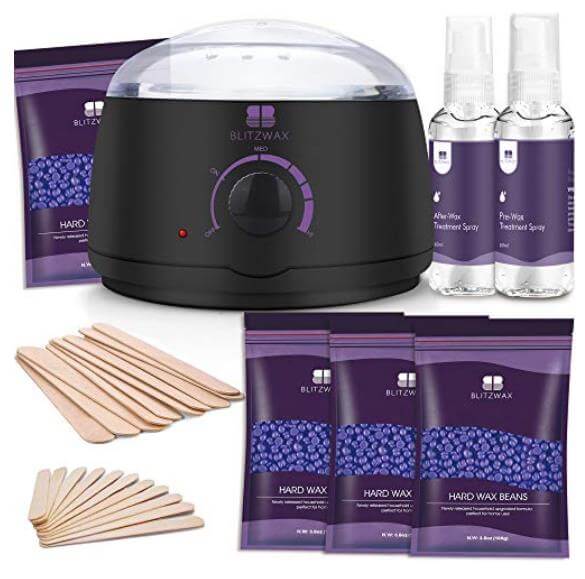
A waxing kit consists of several items that allow you to heat the wax to the perfect temperature, apply it precisely, and then remove unwanted hair without burning or damaging your skin.
With a waxing kit, you’re in control of the process, so you can slay your hair removal routine with ease. Not only will it save you money, but also time and the hassle of going to an appointment.
-
Waxing Strips
These strips are designed to effectively remove unwanted hair from your armpits, leaving behind a silky-smooth finish that lasts longer than shaving. Plus, they’re incredibly easy to use and can be done from the comfort of your own home.
So why bother with the hassle of scheduling a salon appointment when you can achieve the same results with waxing strips? With just a little bit of practice and patience, you’ll have underarms that you can confidently show off all year round.
-
Waxing Applicator
One of the most essential supplies you’ll need is a waxing applicator. This tool will help make the application of wax precise and even. Don’t settle for using any old stick or utensil – investing in a proper waxing applicator can elevate your waxing experience to the next level. With this tool, you’ll be able to achieve a flawless result and enjoy smooth, hair-free armpits. So, go ahead and add a waxing applicator to your arsenal – your underarms will thank you.
-
Baby Powder or Talcum Powder
Baby powder or talcum powder is one item that should definitely be on your list. Not only does it provide a barrier between your skin and the wax, but it also helps to absorb any excess moisture on your skin. This means that the wax adheres better to your hair, making the whole process more effective and less painful.
Plus, the silky smooth feeling of your armpits post-wax will be well worth the extra step of using baby powder. So, next time you’re prepping for a wax, don’t forget to grab the magic powder!
-
Cleansing Wipes

While wax strips and good quality wax are important, one often overlooked item that can make a big difference is cleansing wipes. These handy wipes are designed specifically to cleanse and prepare your skin for waxing by removing dirt, oil, and sweat that can interfere with the waxing process.
Not only do they help to prevent ingrown hairs and irritation, but they also leave your skin feeling fresh and clean. So, if you’re planning on waxing your armpits, don’t forget to stock up on cleansing wipes for a smooth and hassle-free experience.
-
Trim Hair to an Appropriate Length
When it comes to prepping for the perfect wax, sometimes it can feel daunting to make sure you’re doing everything just right. One essential step that should not be overlooked is trimming your hair to an appropriate length.
This is especially important when waxing your armpits, as longer hairs can make the wax less effective and more painful. But don’t worry; you don’t have to be a professional stylist to get it right.
Simply take a pair of scissors and carefully snip any excess length, making sure to leave just enough to be grabbed by the wax. With this simple step, you’ll be on your way to achieving a smooth and pain-free waxing experience.
-
Exfoliate the Armpit Area
Exfoliating can help prevent ingrown hairs and can make the process less painful. The armpit area is often neglected, but it’s important to give it some extra attention in preparation for waxing. Consider using a gentle scrub or a loofah to exfoliate the area and remove any dead skin cells. Not only will this help with waxing, but it can also improve the appearance and texture of your skin.
After we prepared perfectly, we need to know some frequently asked questions, ensuring a comfortable waxing process without pain and hardness.
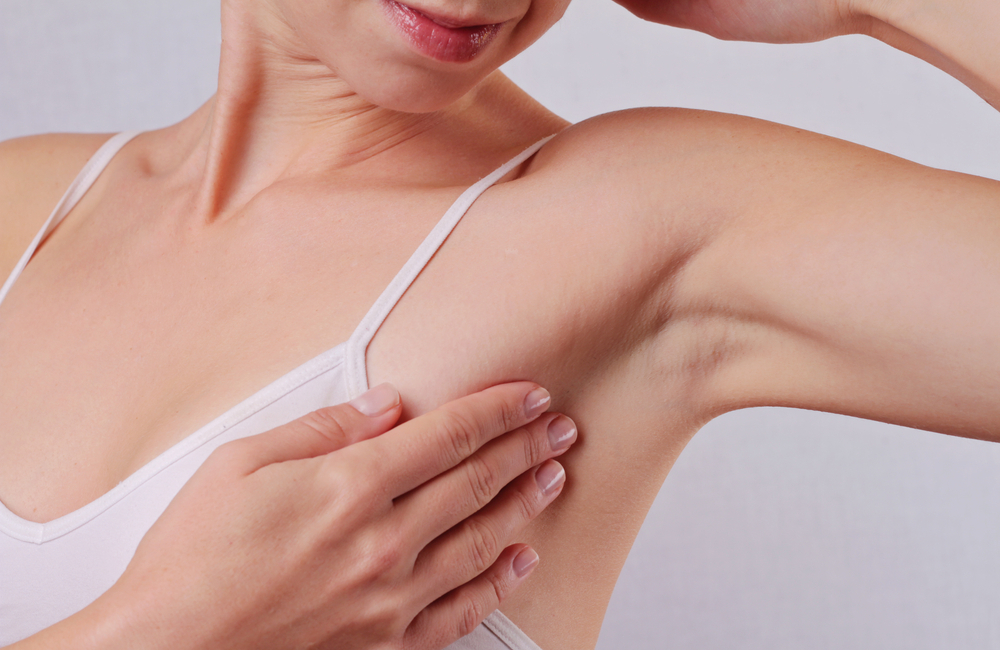
Why Does Waxing Armpits Hurt So Much?
-
Thin skin:
the skin in the armpit area isn’t often exposed, thus relatively thin and sensitive than legs and arms. -
Hair follicles:
The hair follicles in the armpit region are often thick and deeply rooted. When you wax, the wax adheres to the hairs and is then pulled out, which can cause pain as it tugs on the hair follicles. -
Nerve endings:
The armpit area contains more nerve endings, which means that any sensation, including pain, is more noticeable.
The pain of waxing underarm can appear inevitable, yet there’s encouraging news: when performed accurately, the procedure typically entails minimal discomfort that dissipates within mere seconds. The technique employed in the hair removal process is very important!
The Process of Applying the Wax
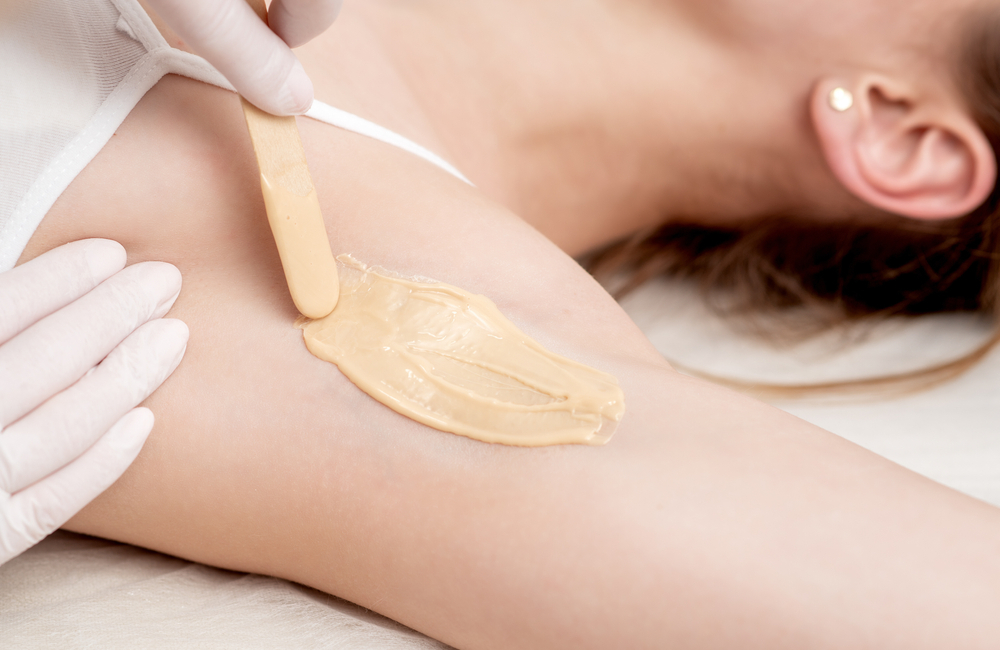
Waxing is not just a chore but an art form. Applying the wax is a crucial step in achieving flawless results. Before starting, make sure to heat the wax according to the instructions to make it pliable and easy to work with. Never forget to conduct a patch test on a small area of skin to ensure no adverse reactions.
Applying baby powder or talcum powder on the area will help to absorb any moisture, making the wax stick better. Dip the applicator provided into the heated wax and apply it to your skin in the direction of hair growth.
Don’t forget to leave a small tab at the end of the strip for easy removal. Repeat the process and watch as your armpits transform into silky smooth canvases. Steps like these make waxing less daunting and help perfect the art form.
How to Remove the Wax Without Pain?
Removing the wax from your armpits may seem daunting, but with a little know-how, you can have silky-smooth underarms in no time.
- First things first, allow the wax to cool and harden before attempting to remove it.
- Once it’s ready, hold your skin taut with one hand and use the other to quickly pull off the waxing strip in the opposite direction of hair growth.
Don’t forget to apply pressure to the area to minimize discomfort. Repeat the process for your other armpit, and voila! You’ll be ready to rock your favorite sleeveless top without a care in the world.
Post-Waxing Care is important
Once you’ve had an underarm wax, it’s important to practice good post-waxing care to ensure that your skin stays smooth and irritation-free.
- Start by cleaning the waxed area with either cleansing wipes or an alcohol-based solution, which will help prevent infection and reduce the chance of ingrown hairs.
- Next, apply a soothing lotion or aloe vera gel to the area to reduce any redness or irritation.
- Try to avoid activities that may cause excessive sweating or friction, such as strenuous exercise or tight clothing, as this can further aggravate the skin.
- And, although it may be tempting, refrain from applying any perfumes, deodorants, or lotions to the area for at least 24 hours after waxing.
- Lastly, make sure to exfoliate the waxed area regularly, as this will help prevent ingrown hairs and keep the skin smooth.
By following these simple steps, you can keep your armpits looking and feeling great long after your waxing is over.
Tips and Precautions
Below we will provide you tips and precautions to follow while waxing your armpits so you don’t end up with burns, bumps, or rashes.
1. Consult a Professional If You’re Uncertain or Have Sensitive Skin
If you have never waxed your armpits before, it’s better to consult a professional. They can properly guide you about the process, the type of wax to use, and the aftercare tips. Also, people with sensitive skin or allergies should get an allergy test done before they opt for waxing. A professional can also recommend products and techniques that suit your skin type.
2. Avoid Waxing If You Have Open Cuts, Wounds, or Skin Infections
If you have any cuts or wounds on your armpits or skin infections like rashes or boils, avoid waxing. Waxing can aggravate the situation and cause more pain or infection. So, wait for the wound or infection to heal before you opt for waxing.
3. Take Pain Relievers Before Waxing to Minimize Discomfort
Waxing can be a painful process, especially for first-timers. However, you can take over-the-counter pain relievers like ibuprofen or acetaminophen 30 minutes before waxing to minimize the discomfort. However, consult your doctor before taking any pain relief medication.
4. Consider Using a Numbing Cream If You Have Low Pain Tolerance
If you have a low tolerance for pain, you can use a numbing cream before waxing. The cream contains lidocaine, a pain reliever that numbs the skin before waxing. Apply the cream 30 minutes before waxing and follow the instructions on the label carefully. However, it’s better to consult a doctor before using any numbing cream, especially if you have skin allergies.
5. Avoid Exposure to Direct Sunlight or Tanning Beds Immediately After Waxing
Your skin becomes sensitive after waxing, so if you expose it to sunlight or artificial tanning beds, it can cause rashes or burns. So, avoid going out in the sun or to tanning salons for at least 24-48 hours after waxing. Wear loose and comfortable clothes and apply sunscreen if you are outside.
The Bottom Line
With all of this in mind, waxing is proven to be an effective way to get rid of pesky underarm hair. As a refresher: make sure any stray hairs you have been trimmed down for optimal results; apply heated wax and remove it with one swift motion; provide adequate aftercare, such as cleansing the area with a mild lotion or aloe vera gel and avoiding the sun for a few hours, to receive the most benefits!
Waxing is a great just-for-you routine that requires minimal time and effort – after all, who wouldn’t want smooth underarms? Even though the process may be uncomfortable at times, you will find that the relief from stubble – as well as the boost of confidence from having smooth pits – will make waxing worth your while.